How to Apply Danish Oil: A Complete Guide for Beautiful, Natural Wood Finishes
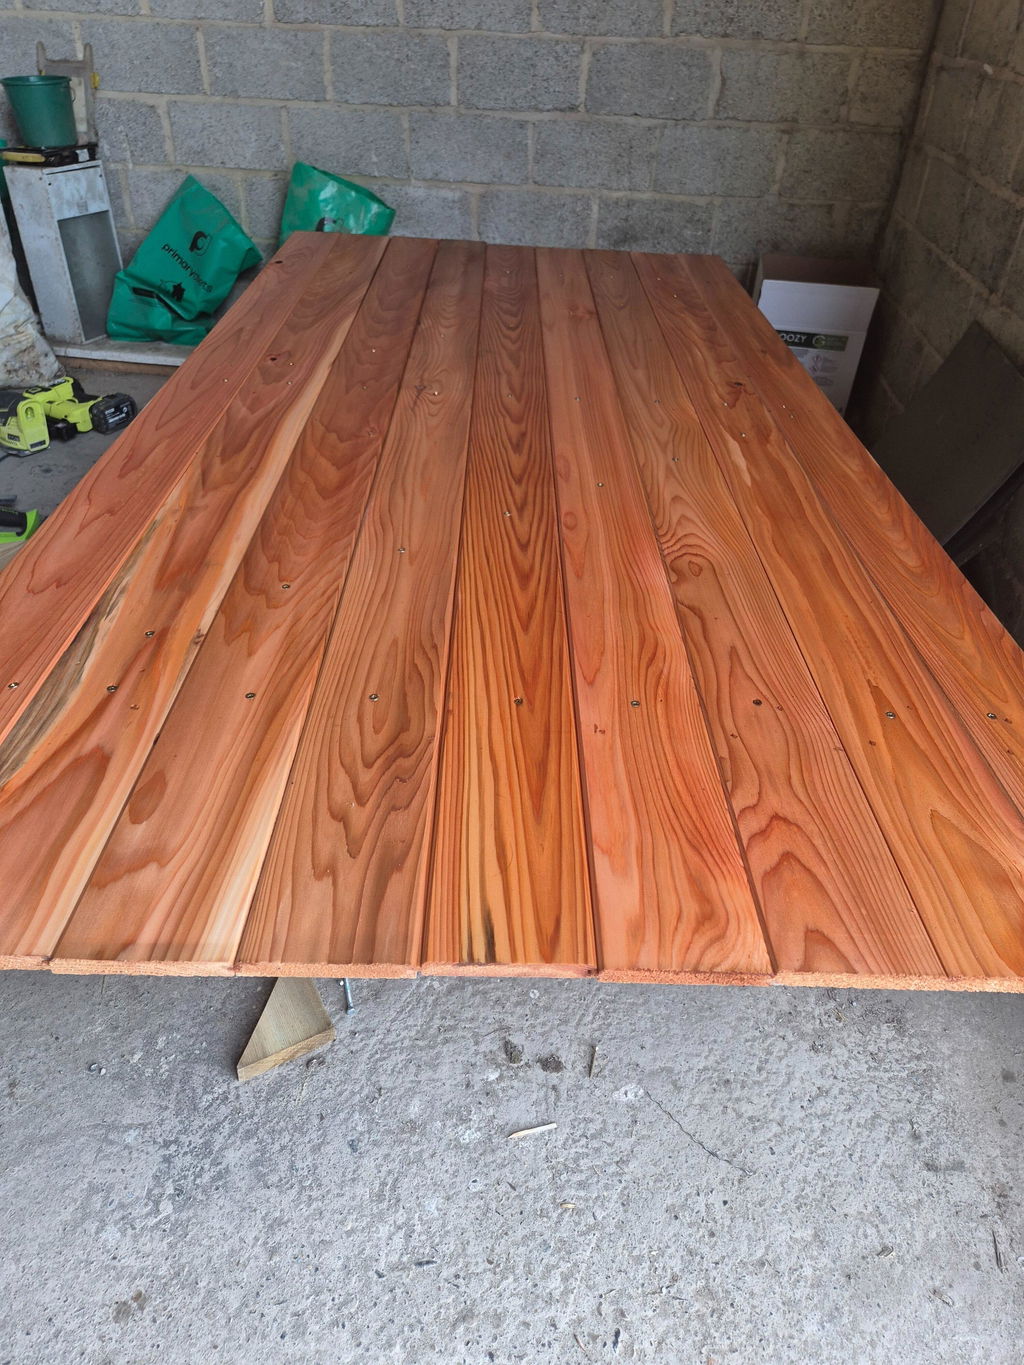
Danish Oil is one of the most popular wood finishes for anyone looking to enhance the natural beauty of timber while providing long-lasting protection. Whether you're restoring an old piece of furniture, finishing a new woodworking project or protecting interior and exterior wood, Danish Oil delivers a durable, natural-looking finish that brings out the richness of the wood grain.
In this guide, we'll explain what Wood Danish Oil is, how to apply it correctly, how many coats you need and how to keep your wooden surfaces looking their best for years to come.
What Is Danish Oil?
Danish Oil is a carefully blended wood finish that penetrates deep into the timber rather than forming a thick coating on the surface. This allows the natural grain to remain visible while helping protect the wood against moisture, dirt and everyday wear.
Unlike varnishes or lacquers, Danish Oil produces a subtle satin finish that enhances the timber without creating a glossy plastic-like appearance.
It is suitable for a wide variety of wooden surfaces, including furniture, doors, shelving, worktops and many interior and exterior wood projects.
Why Choose Danish Oil?
One of the biggest advantages of Danish Oil is its ability to combine protection with a natural appearance.
Benefits include:
- Enhances the natural grain of the wood
- Helps protect against moisture and everyday wear
- Leaves a durable satin finish
- Easy to apply and maintain
- Suitable for hardwoods and softwoods
- Ideal for interior and exterior wood
Rather than hiding the timber beneath a heavy coating, Danish Oil allows the natural character of the wood to remain the centre of attention.
How to Apply Danish Oil
Achieving a professional finish is simple when the wood is properly prepared.
Step 1 – Prepare the Bare Wood
For the best results, begin with clean, dry bare wood.
Sand the surface until smooth, removing any previous finishes, dust or grease. Always wipe away sanding dust before applying the oil.
Testing the finish on an offcut or hidden area is recommended, particularly when working with unfamiliar timber species.
Step 2 – Apply the First Coat
Using a clean brush or lint-free cloth, apply Danish Oil generously, always working in the direction of the grain.
Allow the oil to soak into the timber for around 10–15 minutes before wiping away any excess with a clean cloth.
Avoid leaving pools of oil on the surface, as these can slow drying and create sticky patches.
Step 3 – Apply 3 Coats
For most bare wood, we recommend you apply 3 coats of Danish Oil.
- The first coat penetrates deep into the timber.
- The second coat enriches the colour and enhances the grain.
- The third coat improves durability and water resistance.
Allow each coat to dry fully before applying the next.
Very absorbent or heavily used surfaces may benefit from an additional maintenance coat in the future.
Where Can Danish Oil Be Used?
Danish Oil is an extremely versatile finish and is suitable for many woodworking projects.
Ideal applications include:
- Furniture
- Doors
- Window frames
- Shelving
- Interior joinery
- Exterior timber
- Garden furniture
- Wooden trim
Its penetrating formula makes it particularly well suited to projects where maintaining the natural appearance of the timber is important.
Common Mistakes to Avoid
Even the best Wood Danish Oil will only perform well if applied correctly.
Avoid these common mistakes:
Applying Too Much Oil
Heavy coats rarely improve the finish and can leave sticky residue. Several thin coats provide a much better result.
Ignoring the Direction of the Grain
Always apply Danish Oil following the direction of the grain to achieve the most even and natural-looking finish.
Poor Surface Preparation
Dust, wax or old finishes prevent the oil from penetrating evenly, leading to patchy colour and inconsistent absorption.
Not Allowing Enough Drying Time
Allow each coat to dry fully before applying the next. Rushing the process can affect both the appearance and durability of the finish.
How to Maintain Oiled Wooden Surfaces
One of the advantages of Danish Oil is that ongoing maintenance is straightforward.
As the timber begins to lose its sheen or appear dry, lightly clean the surface and apply a fresh maintenance coat.
Regular maintenance helps preserve the finish while extending the life of the wood.
Why Choose GRAIN GUARD Danish Oil?
GRAIN GUARD Danish Oil is formulated to nourish, protect and enhance natural timber while delivering a beautiful satin finish.
Suitable for interior and exterior wood, it penetrates deep into the grain to help protect against moisture while highlighting the natural beauty of the timber.
Whether you're restoring furniture, finishing shelving or protecting wooden joinery, GRAIN GUARD Danish Oil delivers professional-quality results that are easy to achieve.
Frequently Asked Questions
How many coats of Danish Oil should I apply?
For most bare wood, we recommend applying 3 coats to achieve the best balance of appearance and protection.
Can Danish Oil be used outside?
Yes. Danish Oil is suitable for many interior and exterior wood projects. Exterior timber will benefit from periodic maintenance to keep the finish performing at its best.
Should I sand between coats?
Light sanding between coats can help achieve an even smoother finish, particularly on fine furniture.
Can I apply Danish Oil with a brush?
Yes. Danish Oil can be applied using either a quality brush or a clean lint-free cloth.
How do I know when the wood needs another coat?
If the timber begins to look dry, dull or absorbs water more readily than before, it is usually time to apply a maintenance coat.