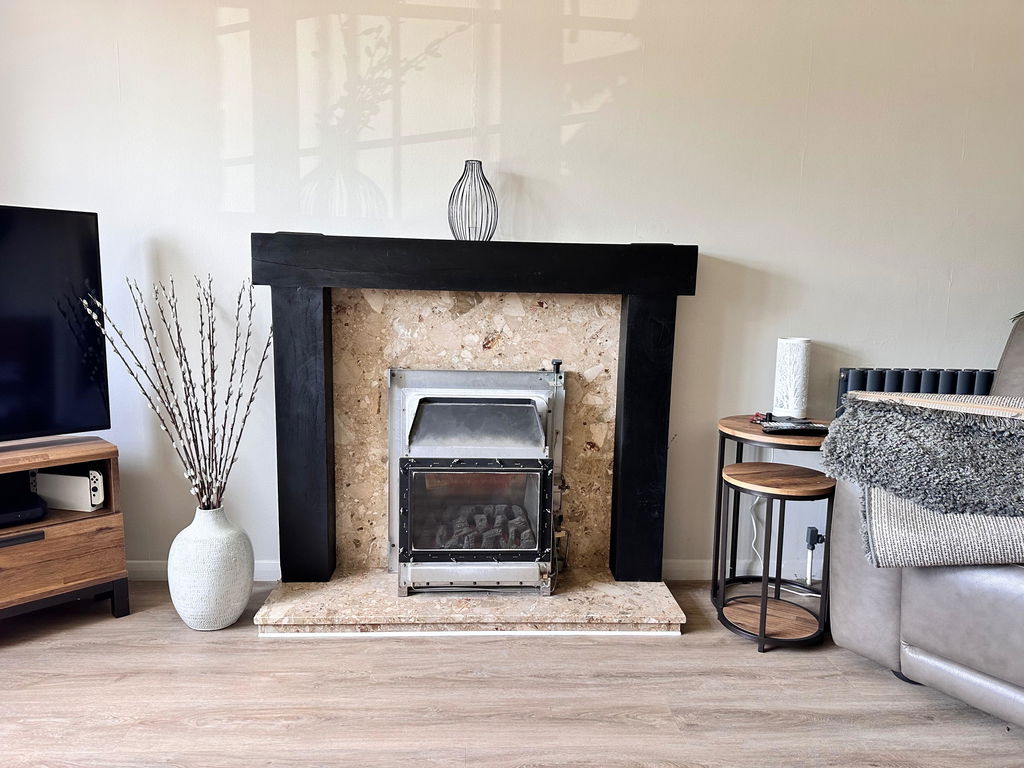


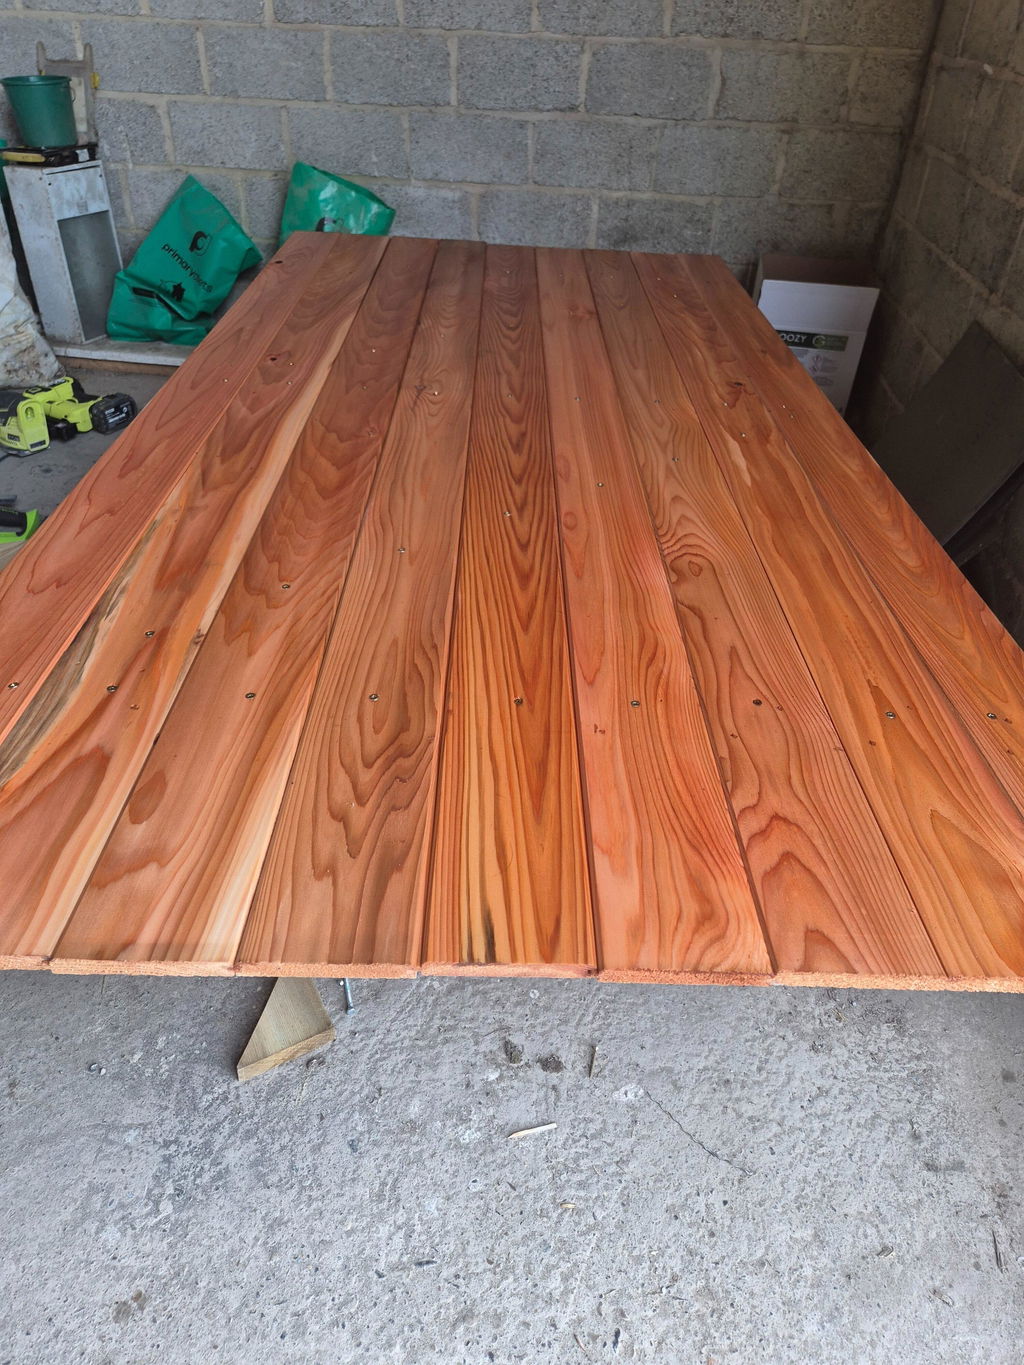
Really easy to use and it has brought out the colour of the wood fantastically.
My wood chopping boards are feeling better already
GrainGuard
Couldn't load pickup availability
GRAIN GUARD Wood Repair Stick is a fast and reliable epoxy repair solution for rebuilding, repairing and restoring damaged wood. The two-part epoxy putty is easy to knead by hand, creating a mouldable compound that fills cracks, holes and damaged areas before curing to a strong, durable repair in just 60 minutes.
Whether you're repairing furniture, filling damaged window frames or restoring timber doors, GRAIN GUARD Wood Repair Stick provides a long-lasting repair that bonds securely to wooden surfaces. Once cured, it can be drilled, sanded, filed, tapped, sawn, painted or stained, making it easy to achieve a smooth, professional-looking finish.
Suitable for interior and exterior wood repairs, this versatile epoxy putty is ideal for furniture, doors, windows, flooring, skirting boards and other timber surfaces. It restores strength to damaged areas while helping extend the life of wooden items without the need for costly replacements.
Whether you're carrying out a quick repair or rebuilding missing sections of timber, Wood Repair Stick provides a strong, durable solution that is easy to shape and built to last.


This tube of wood grin epoxy putty filler has come in very useful. I have used it on my side gate where some of the wood has deteriorated, so to protect further deterioration from the rain i have used this putty to fill in the holes. The putty comes in a plastic tube, when you take it out it has what looks like a tin foil tab end which can be taken off and replaced if you only use part of the putty. The putty is soft and can be cut if you only need to use a little and the rest can be put back in the plastic tube to be used at a later date. The putty has to be kneaded together to mix the chemicals (gloves are advised) and then pushed and moulded into the holes. I have left it 24 hours and its has gone hard so i can now paint over it. This is an Excellent product, easy to use, and handy to have in the diy treasure trove.
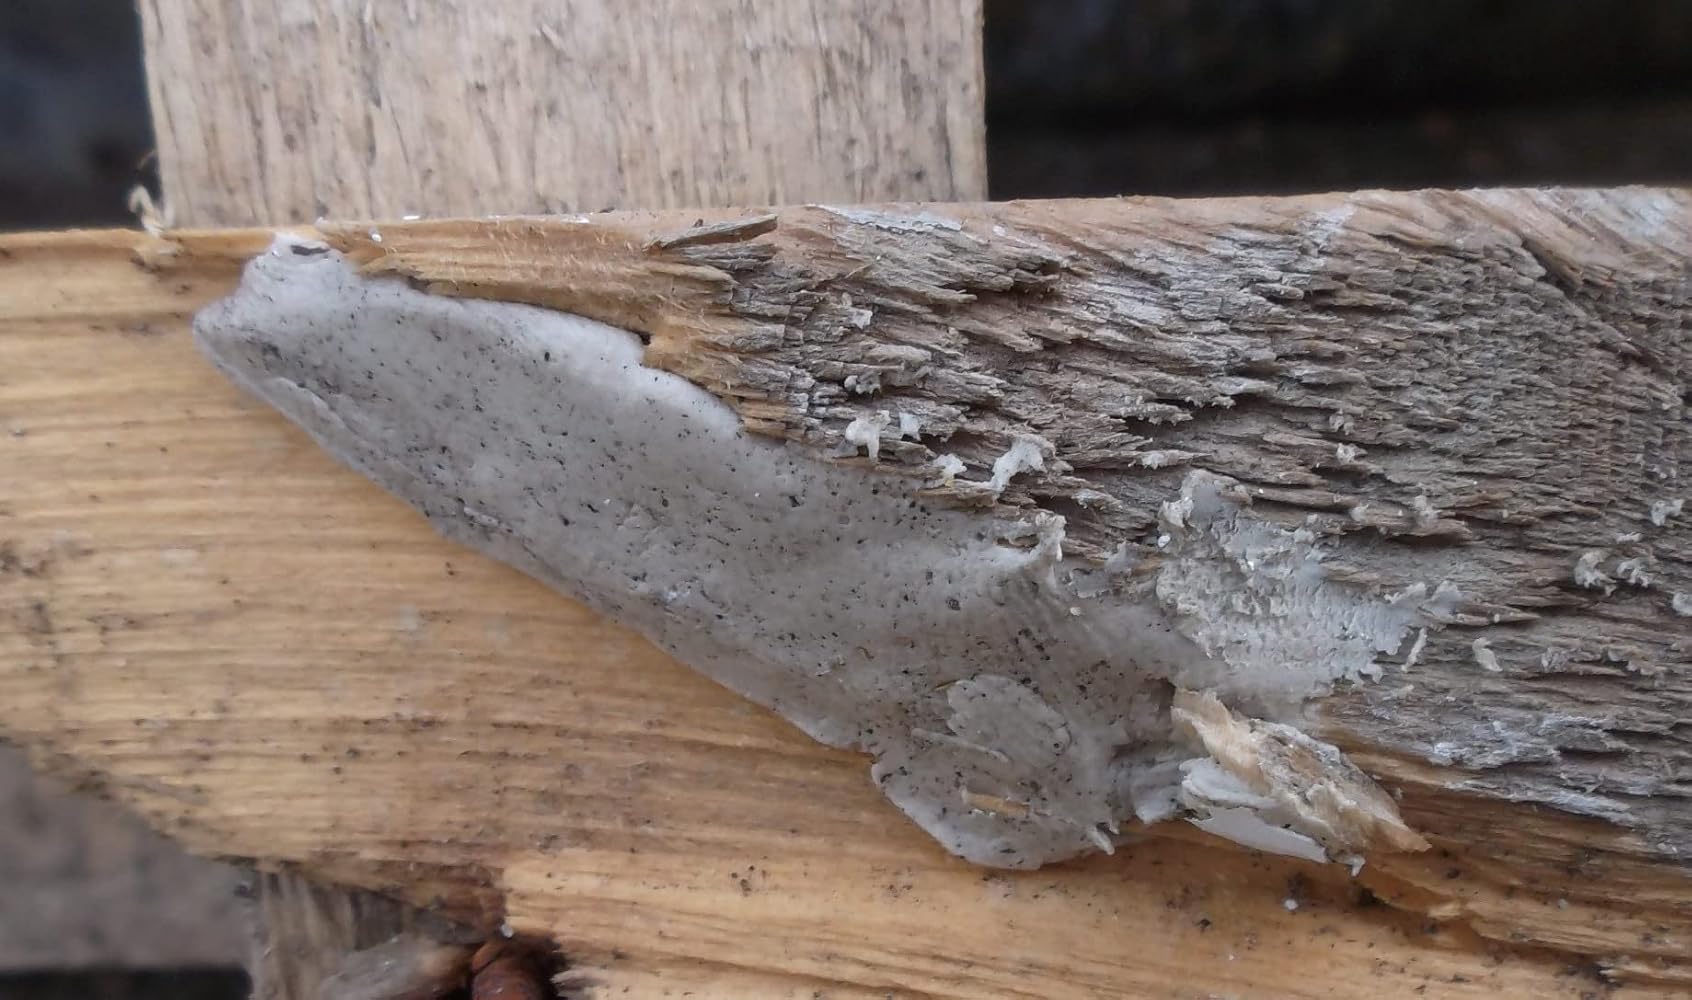
Hubs has a hole in his wooden boat.It is only about 1" so we thought this putty would do to put it right.It comes in a clear solid plastic tube.The outside of the roll of putty is brown but the inside is white so when you mix the two to a uniform colour, it is light grey not wood coloured at all. There is a small circle of foil on each end to keep the inner stuff clean and make it easier to get out of the tube.Given that there are no actual instructions with it ,for how to use it , only a warning on packet about how harmful breathing or touching it is, I decided to try it in the garden on an old pallet rather than somewhere where it matters.This proved a good idea because I was able to see how messy it might be without being indoors where it might be 'dangerous' to breathe, touch etc and without committing to the boat.To use, you have to get the whole thing out of the tube due to the clear plastic wrapped round it.Breaking off a bit is easy and gives the correct ratio of the two part epoxy ,(brown outer, white inner core).It takes about a minute to knead it to uniform colour and is quite soft once kneaded.You have to push hard to get it to stay bonded to your original wood, make sure there is no loose stuff in the break.You might have to make some anchoring holes for it to push into depending on your mend as it's not sticky in itself, it needs to be forced in to plug a hole.Smooth it as best you can, you can sand it when its cured.Leave for an hour before sanding or painting.Our test resulted in a hard filled area of the putty on the test bit of wood so we will definitely be using it for the boat mend and then painting over it.I used it bare handed but disposable gloves would be useful here.Couldn't actually smell it.It was not at all messy to use and we had some water nearby incase it should prove a skin irritant.It was very warm weather and the mend was hard in 45 minutes so I assume it will be longer than 60 minutes if the weather is cold.The putty does not appear to shrink at all in curing.The cured stuff matches quite well to untreated wood that has taken on that grey colour you see on fences and sheds. Its has no brown hue to it at all .Easy to use once you get the idea.Could do with a real instruction leaflet and possibly some disposable gloves in the pack so I am giving it 4 out of 5.
Great product recommended 👌
Easy to mix and use as wood filler. Satisfied!
Good epoxy filler
Needed this when I'd moved a door catch when changing handles, so a hole was left that needed filling and needed to be strong enough to screw into. Mixed a small amount as instructed, pushed into place and worked for a few minutes. Left for 30 minutes, sanded slightly, then screwed into after 1 hour. Works perfectly and door catch is now solid. Excellent.
This epoxy filler works well, and does exactly what it claims to do.It's pretty easy to use, although it has to be kneaded very well prior to application. It fills gaps in wood and MDF very nicely, sands well, and takes drilling well too.All in all, a very competent product. The only caveat is that similar products can be obtained for less, but it is very good.
I fixed the feet of our garden chairs with this and it has held up really well. It sets really hard and wasn't that difficult to mix and mould to the correct shape. Very useful stuff indeed.
I've used various wood fillers in the past and this stuff does work. It was quite good when I used it to fill in splits and dents in an old door that has seen better days. It's pliable at first then dries hard and can be painted over. There weren't any instructions, but common sense and looking at the web page for the product should be explanation enough.
I found this a bit hard to work with. I had a coffee table with a busted corner (you could see the plywood inside and was rough). I sanded down this corner and then re-molded a corner with this paste. It sort of worked but I struggled to get a smooth edge and looks like a stuck a bit of coloured blu-tac on the corner. Perhaps painting it will make it look better.Overall, it done well at cornering the plywood and, at least, now it doesn't look like the corner is damages but it still look odd, just in a different way.
This is an excellent fast hardening wood filler. Since it sets chemically, you can use it for large or deep sections.I've been using this while replacing bulky 1920s door handles with more modern ones. The original had deep cut outs and holes for the original, so I needed an effective filler.Like all epoxy fillers, this comes as 2 parts, a white core and a beige outer. Blending these uniformly is vital, or the epoxy will not set. It doesn't include instructions in or on the packaging, but this is how I used it.1) When you want to use it, take of an end seal, but not the wrapping film.2) Cut the length you require then replace the end seal.3) Take of the plastic and work the resin like plasticine stretching it, folding it and rolling it until it has all blended into a uniform colour. Be patient if it isn't consistently mixed, it won't set.4) Shape it like clay and push it into the clean hole that you are filling and leave it to set for a couple of hours.5) After that, you can sand it or drill it and paint as necessary.It is on a par with a fairly soft wood.
I have drilled a hole in the wrong place and used this to fix it, it worked perfectly. It has dried out and I have painted it, can't even see that there was something. Great for a quick fix.
Another way to use epoxy on wood, this stick of two components epoxy is very handy, cut of a piece and start to mix it, so no chance to wrong mix quantity. Easy to mix and work, dried fairly quick. Used on chipped laminate floor, will see how withstand use. There are no instructions but not really needed since is only mix what you cut.
Great stuff, works well. Wish instructions were on the packet but you have to scan a QR code to view. Colour doesn’t quite match my limed oak wood but that’s more my furniture being an odd colour.
For a product such as this I found it really incredible that no instructions come with it.Yes, they do sort of explain how to use it on the Amazon Web page in '3 stages', then annoyingly at the end of they say "Consult safety data sheet for additional information".... and where is that I might ask ?... as there is no website etc.Fortunately I have used this 2-compound epoxy resin for many years but they have been for metal rather than wood and the instructions have been excellent.So here are my instructions :1) Firstly you need remove the 'silver paper end cap', then with a very sharp knife cut of the amount you epoxy you think you will need, then put the silver paper end cap back on and pop it back in the tube.2) Peel off the clear plastic outer protection.3) VERY thoroughly mix the epoxy together by 'kneading' it with your fingers, this took me far longer than I thought it would, you need to keep going until it is ONE uniform colour, failure to do this and it won't set hard !This will leave you hands a bit smelly afterwards and it took some washing to get rid of the small, in hindsight I think I should have worn protective gloves, despite it saying "knead with the fingers".4) Use it to fill holes etc, as you would any wood filler really.5) Wait one hour and it will have set solid, so you you can drill, sand or paint it etc.I do find it a little bizarre that they show you mending a chair leg though, what an odd example and I am sure I wouldn't mend a chair leg with it, I would repair it properly as the carpenter I am and not as a 'bodger'.I am not really sure what the market for this product is either, as there are already much easier to use wood fillers out there that will give as good if not better result.Conclusion :I can't see me using this again really and at £14.99 (as of 15 August 2022) for 70g, when I can buy a 275g tin from a very well known make for £8.95.. as they say "its a no brainer".No instructions, hard work to mix and very expensive... sorry only 3 stars from me.
I think this is a great idea for a product but I’m not convinced just yet. There are very limited instructions and in these days of YouTube I think it would be beneficial to have a tutorial showing you how to use the product and it benefits. The QR code on the packaging doesn’t work which is disappointing and doesn’t feel very professional. I get the idea of the product and I have used it to fill a small crack and it worked ok but I wouldn’t use it to rebuild for example a chair leg as shown in the picture as it is really hard to get it work evenly and squarely in a block but I think it is ok for small repairs.