GrainGuard
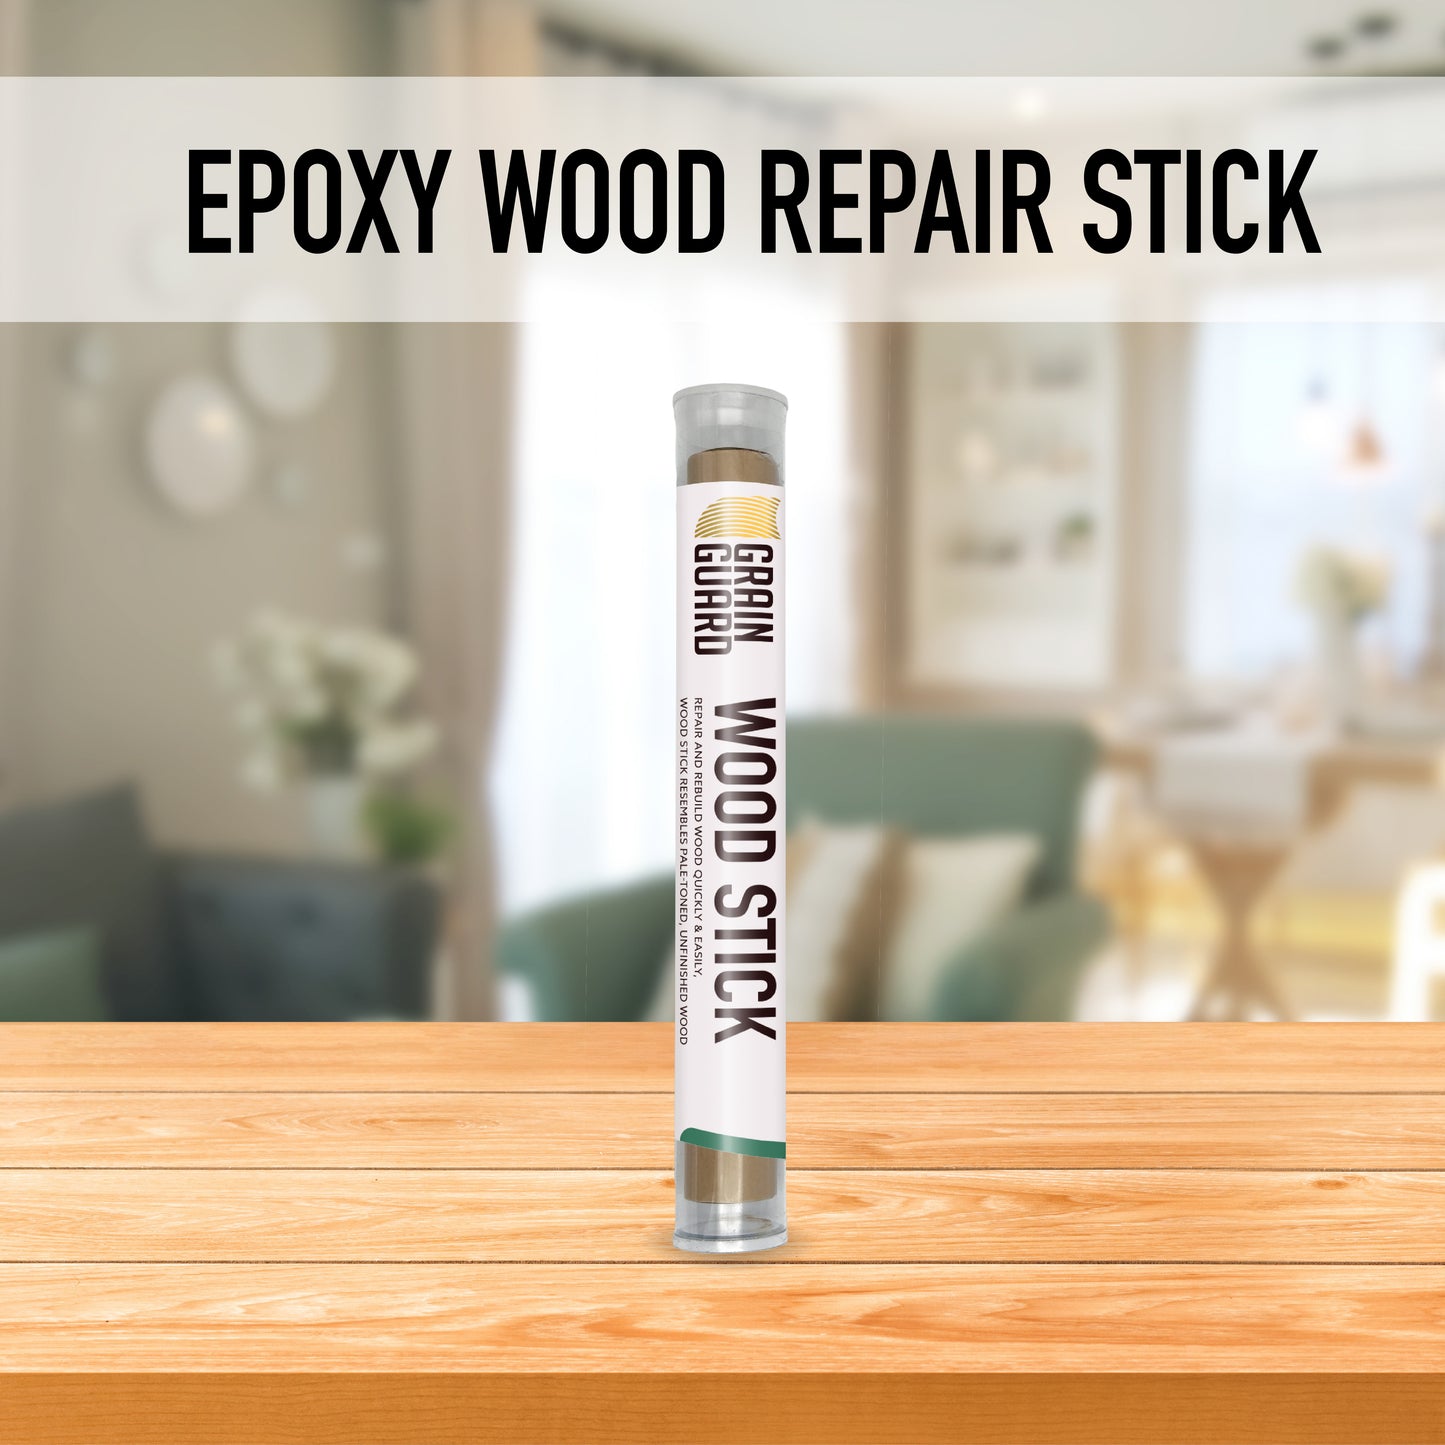
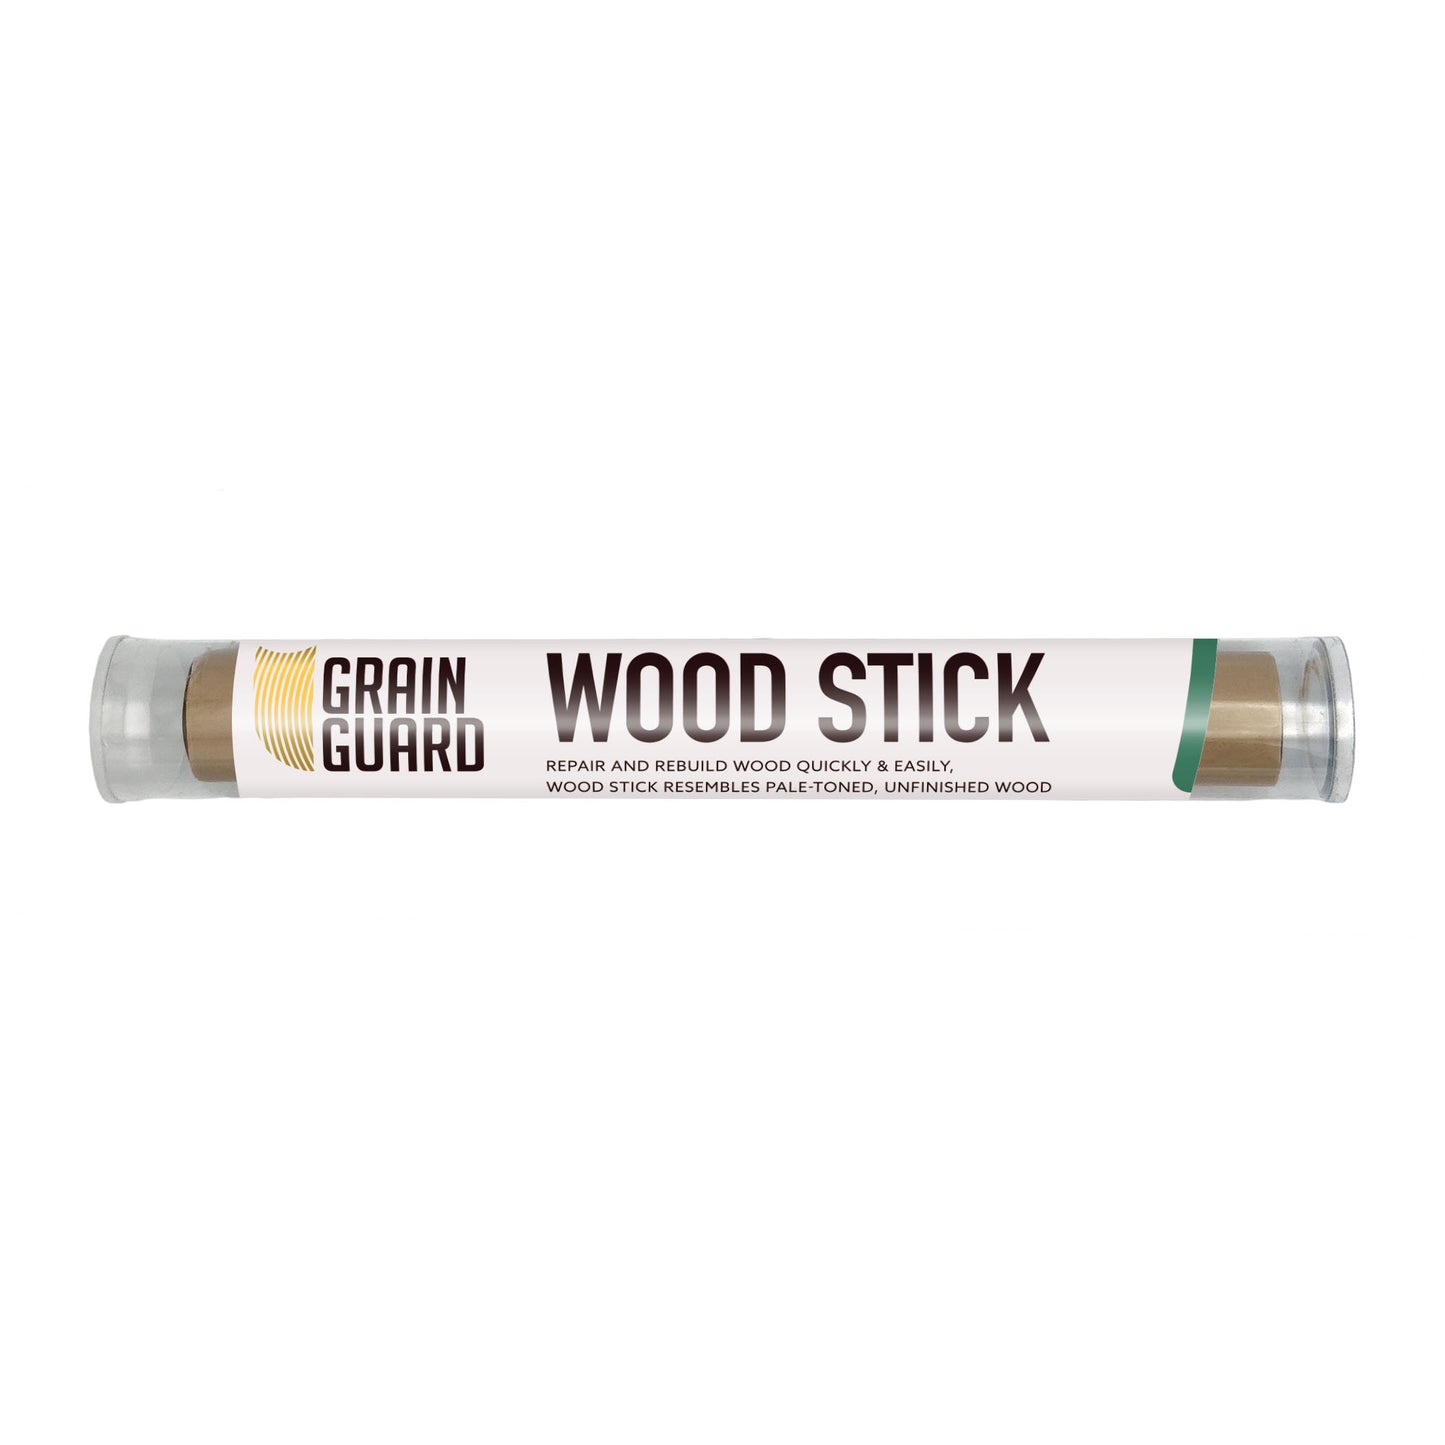
Epoxy Wood Repair Stick | WOOD | Repair, Rebuild, Re-Paint | Mouldable Epoxy Putty | Doors, Windows, Furniture, Etc | 7 Inch
Couldn't load pickup availability
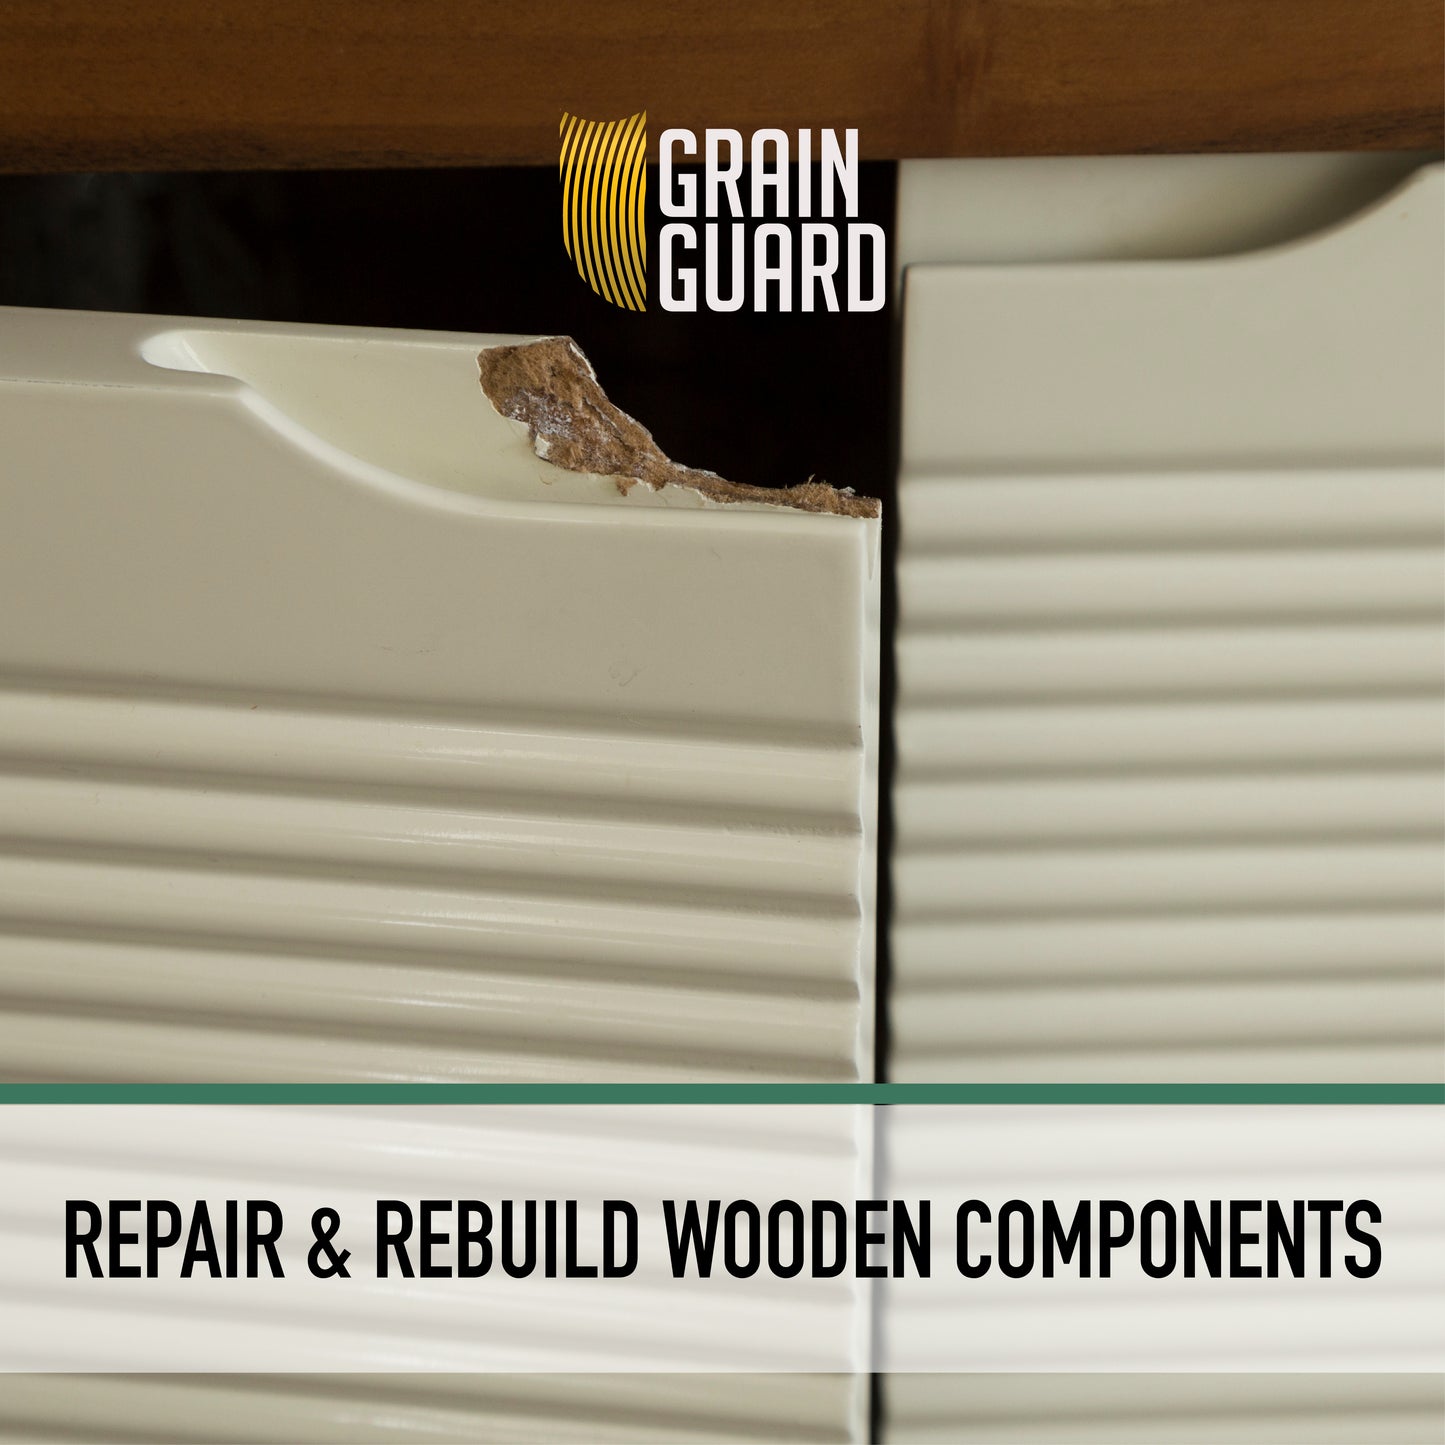
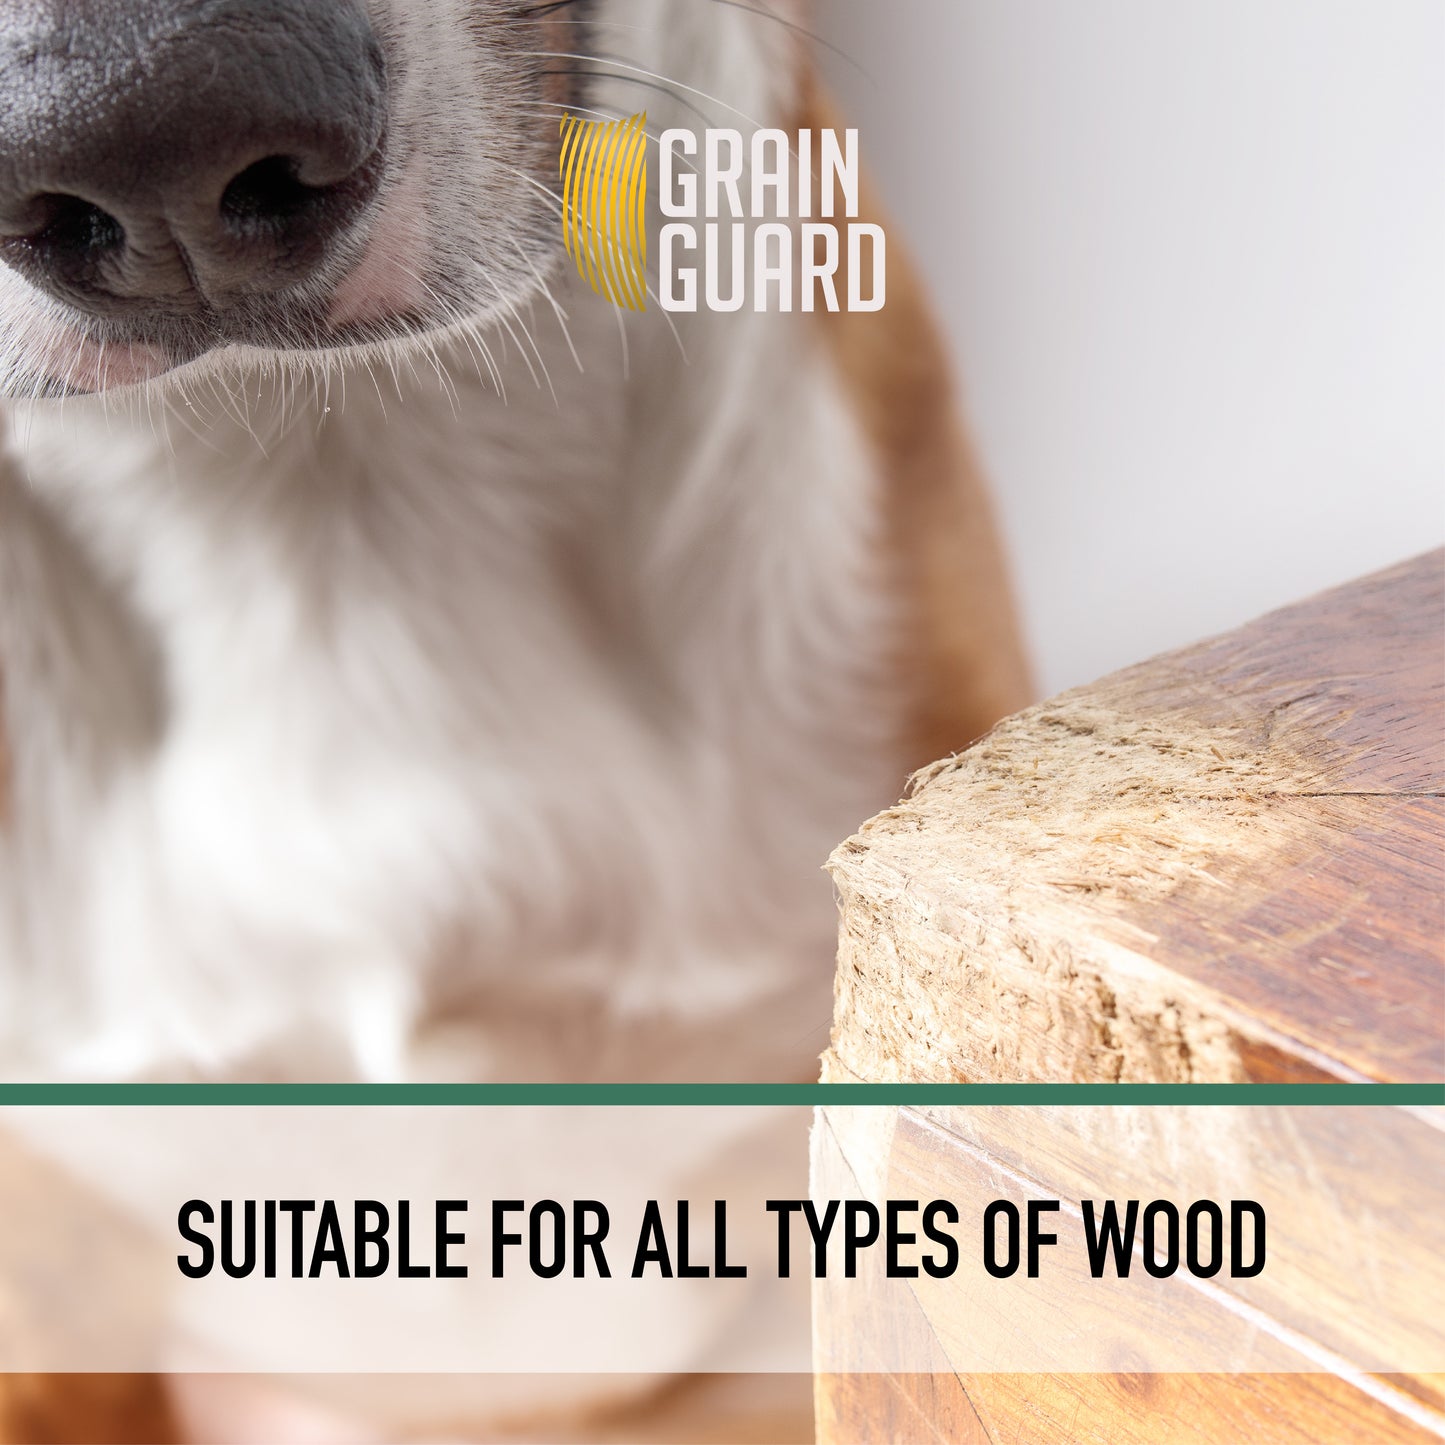
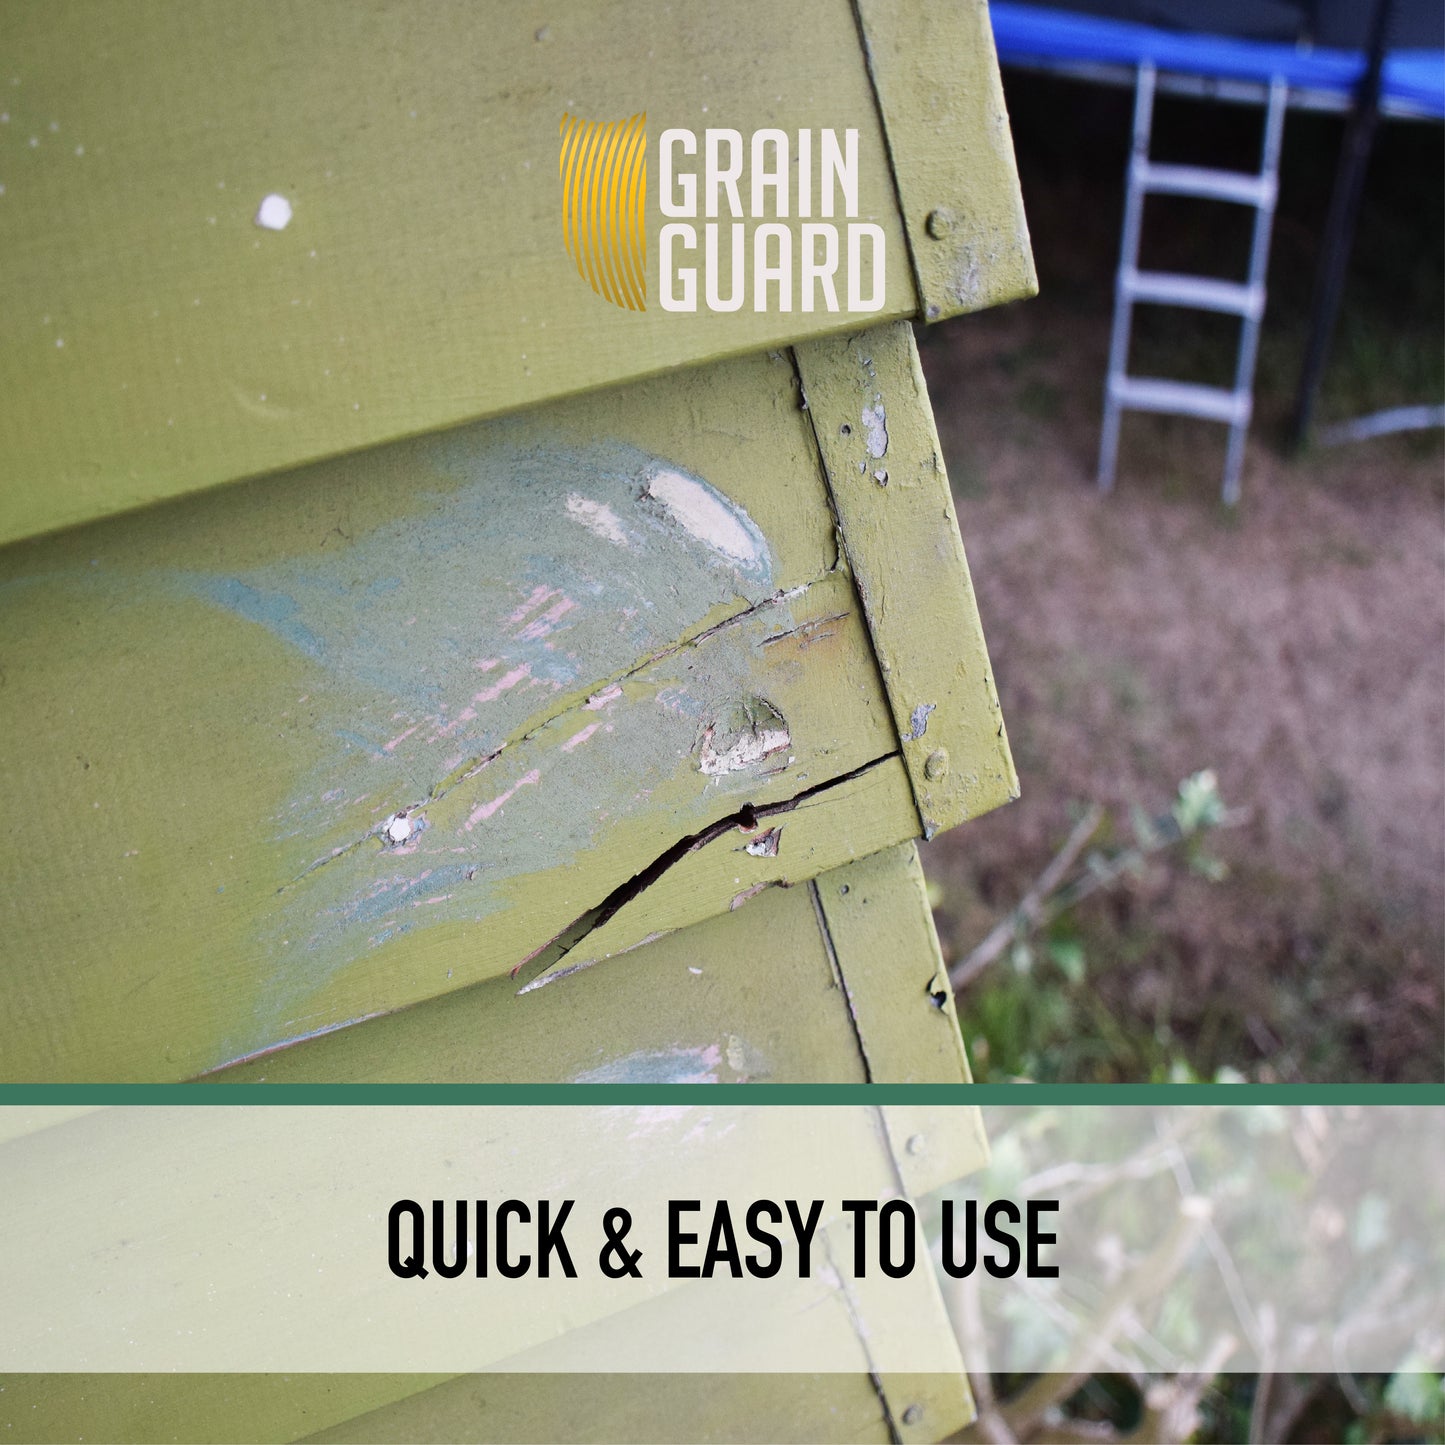
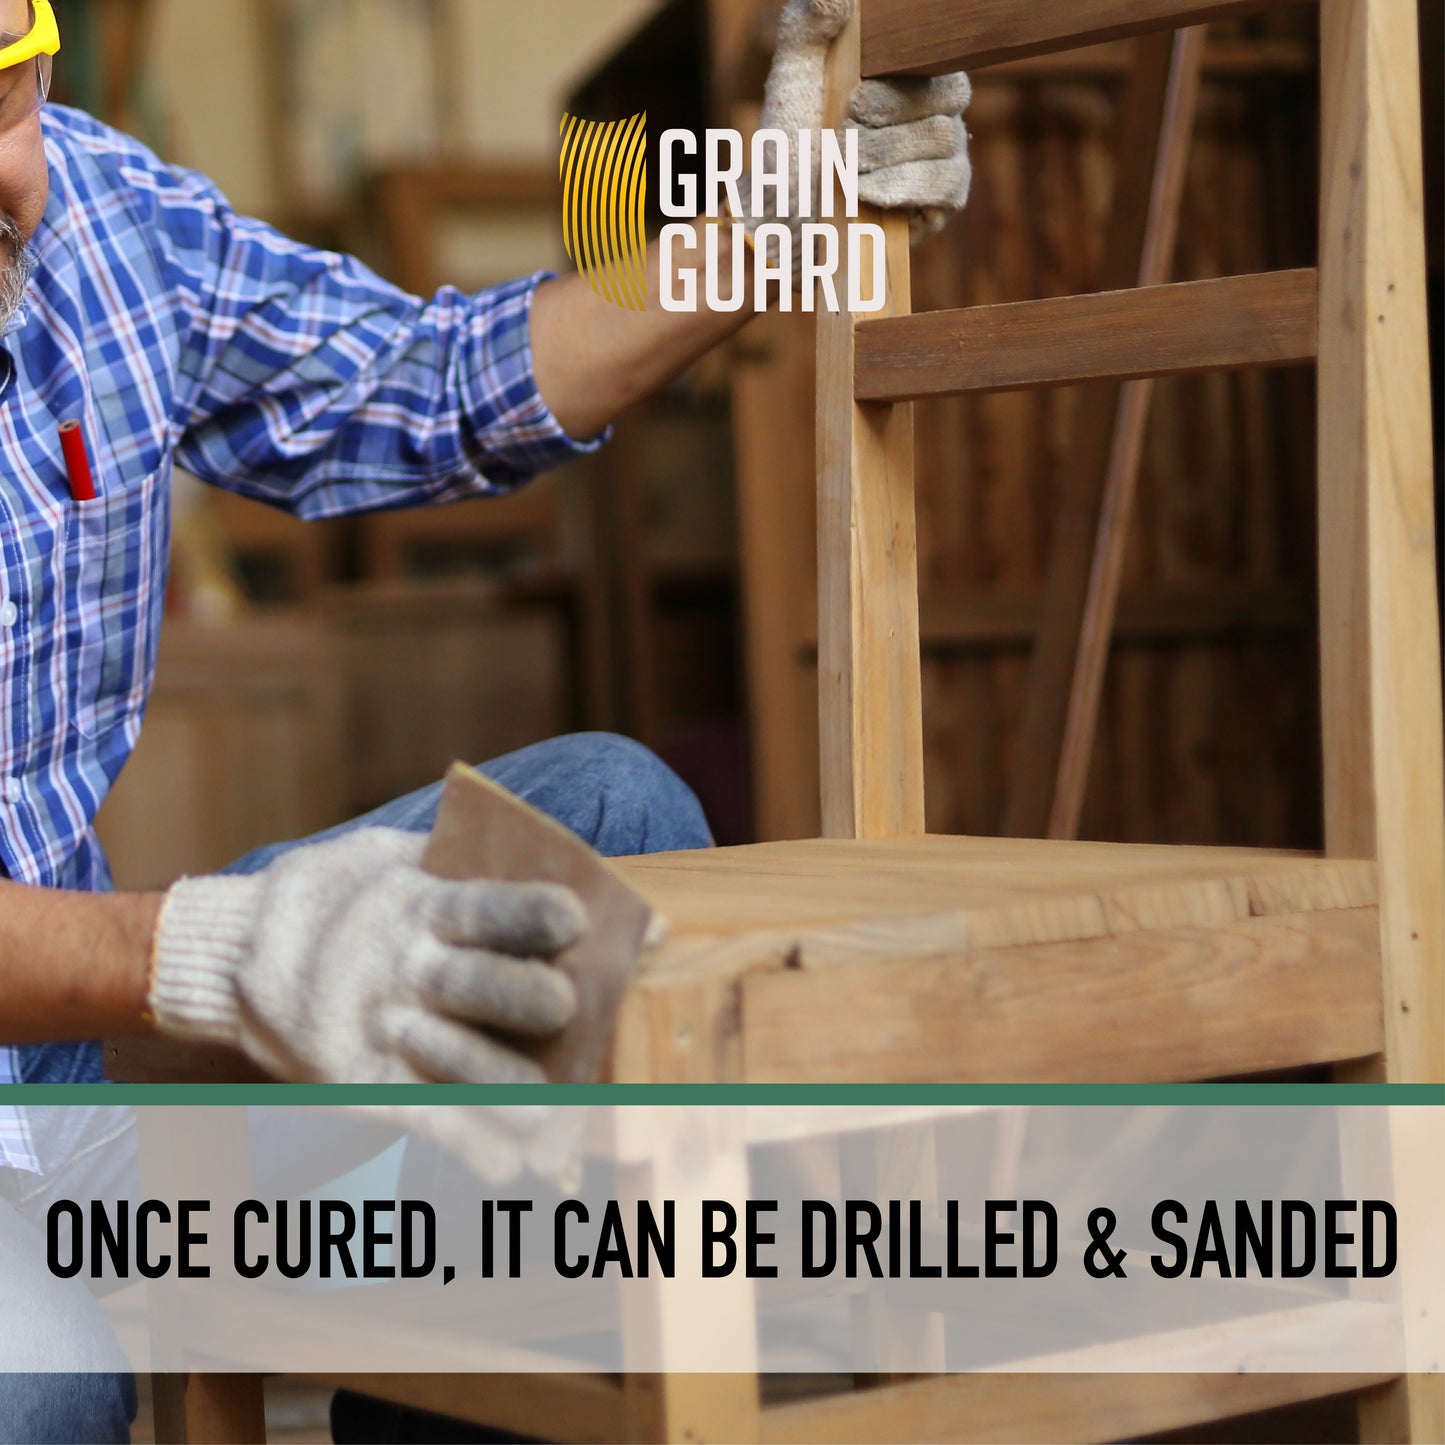
GRAIN GUARD Wood Epoxy Stick is the perfect solution for repairing and rebuilding wooden components. Quick and simple to use, the two part epoxy can be hand mixed to form a pliable polymer compound that can be easily applied and moulded. Once cured in just 60 minutes, it can be drilled, tapped, sawed, sanded, filed, painted and stained to leave an invisible fix. Ideal for repairs and filling gaps, it can be used on any wooden surface and is perfect of furniture, doors, windows, flooring, etc.
Key Benefits
Key Benefits
- Repair and Rebuild: Wood stick resembles pale-toned, unfinished wood.
- Perfect for Repairing: Furniture, doors, windows, flooring, etc.
- Versatile: Can be drilled, tapped, sawed, sanded, filed, painted and stained.
- Forms a Polymer Compound: Cures to the same density as wood.
- Quick and Simple: Functional in just 60 minutes.
FAQs
FAQs
1. What is GRAIN GUARD Wood Epoxy Stick?
This is a two-part epoxy repair stick designed to repair, rebuild, and restore wooden surfaces. Once mixed, it forms a pliable compound that can be moulded and shaped, curing in just 60 minutes to a strong, wood-like finish that can be drilled, sanded, sawed, filed, painted, or stained.
2. What surfaces can it be used on?
The Wood Epoxy Stick is suitable for any wooden surface, including:
- Furniture (tables, chairs, cabinets)
- Doors and windows
- Flooring and skirting boards
- Wooden panels and trim
3. What are the key benefits of this product?
- Quick & Functional: Fully functional in just 60 minutes.
- Versatile Repairs: Can be drilled, tapped, sawed, sanded, filed, painted, or stained.
- Wood-like Finish: Cures to a density and appearance similar to wood.
- Easy to Use: Hand-mixable, mouldable, and easy to apply.
- Invisible Repairs: Allows seamless restoration of cracks, holes, or gaps.
- Reusable: Any unused portion can be returned to the tube and resealed.
4. How do I prepare the surface?
- Ensure the repair area is clean and roughened for best adhesion.
- Wear impervious gloves when mixing or handling uncured epoxy.
5. How do I use the Wood Epoxy Stick?
Step 1 – Measure:
Cut or twist off only the required amount. Return the remaining epoxy to the tube and reseal with the cap.
Step 2 – Mix:
Hand-mix the epoxy by kneading until a uniform colour is achieved. For easier mixing, warm the putty to room temperature or slightly above.
Step 3 – Apply:
- Apply within 10 minutes of mixing.
- Force the epoxy into cracks, holes, or gaps.
- Strike off excess material with a moistened tool or damp fingers.
- For damp or leaking areas, press firmly to ensure adhesion.
Step 4 – Cure & Finish:
- Functional strength is achieved after 60 minutes.
- Once cured, the epoxy can be sanded, drilled, filed, painted, or stained to match surrounding wood.
6. Can it be painted or stained?
Yes. Once cured, the epoxy stick can be painted or stained to blend seamlessly with existing wood surfaces.
7. How long does it take to cure?
The epoxy stick becomes functional in 60 minutes, allowing light use or finishing. Full hardness develops after this period.
8. Is it safe to handle?
- Always wear impervious gloves when mixing or applying uncured epoxy.
- Consult the safety data sheet for detailed handling and storage instructions.
9. What makes this epoxy stick different from other wood fillers?
- Cures to wood-like density for strong, durable repairs
- Can be shaped, drilled, sanded, filed, painted, or stained
- Quick functional strength in just 60 minutes
- Ideal for invisible, seamless repairs on furniture, doors, flooring, and other wooden surfaces
How to Use
How to Use
Preparation:
Before applying, roughen and clean the area to be repaired. Wear impervious gloves when mixing or handling uncured putty. Then follow these easy steps.
1. Only Use The Required Amount
Cut or twist off required amount, putting the remaining epoxy back in the tube and reseal with the cap.
2. Mix Well
Wearing gloves, hand mix the epoxy by kneading with the fingers until a uniform colour is formed. If mixing is difficult, warm putty to room temperature or slightly above.
3. Apply To Surface To Be Repaired
Ensure to apply within 10 minutes of mixing. Force into any cracks or holes and strike off excess material, preferably with a tool moistened with clean water. When applying to a damp, wet or slowly leaking area, work the mixed material forcefully into the surface and apply pressure until adhesion begins to take effect. Functional strength is achieved after just 60 minutes.
For best results:
Use damp fingers for easier mixing, application, and a smooth appearance of the cured compound. Remove excess material before hardening begins.
Consult the safety data sheet for additional information.
Share
